Curly Hair Home Cutting Guide for 2024
Contents
hide
Introduction to Cutting Curly Hair at Home
Cutting curly hair at home may seem daunting, but it’s entirely doable with proper knowledge and tools. Embracing DIY haircuts can save time and money. It also allows for quick trims needed for maintaining the health and shape of your curls. How to cut curly hair at home?We’ll cover key steps and expert tips to ensure that you get desirable results while taking care of your unique curl pattern.
Remember, curly hair behaves differently than straight hair when cut. It springs back when dry, which can lead to uneven lengths if not done correctly. So, learning how to cut curly hair at home involves understanding its natural state. This guide will walk you through the whole process, from gathering necessary tools to mastering the dry cutting technique that experts recommend for curly hair.
By following our guide, you’ll equip yourself with techniques like the ‘Clock Method’ for even trimming and tips for dealing with various curl patterns. Let’s delve into achieving salon-quality haircuts right in your own bathroom, ensuring that your curls stay bouncy, healthy, and stylish. Ready to transform your curly locks? Let’s begin.
Necessary Tools for Home Haircuts
Ensuring you have the right tools is crucial when you’re learning how to cut curly hair at home. Start with sharp hair shears. Blunt scissors can damage your hair and lead to split ends. Avoid using kitchen or craft scissors; they are not designed for cutting hair. Invest in a pair of quality hair shears, like the Hikari or Equinox Hair Cutting Scissors mentioned in the reference blog.
To handle your curls properly, add a wide-tooth comb to your toolkit. It helps in sectioning and detangling without disrupting your natural curl pattern. Section clips are also necessary. They hold sections of hair in place while you work.
A hand-held mirror and a larger one will help you see all angles of your hair as you cut. Make sure you have good lighting and a plain background to view your hair silhouette clearly.
Lastly, ensure your hair is dry before cutting. Dry cutting mirrors the way curls naturally fall and helps avoid uneven lengths after shrinkage. Follow these tips and gather the necessary tools for a successful home haircut.
Importance of Dry Cutting Technique
How to cut curly hair at home?The dry cutting technique is essential when cutting curly hair at home. This method allows you to see the curls as they naturally fall, which is critical for achieving accurate length and avoiding uneven cuts. Unlike straight hair, curly hair can appear much longer when wet and shrink when it dries, leading to unexpected results if cut while damp.
Here are the reasons why dry cutting is the preferred method for curlies:
- Natural Shape and Volume: Dry cutting respects the natural volume and shape of your curls. You can see how each curl coils and where it lies against your head. This helps in making precise cuts.
- True Length Assessment: Wet hair stretches, giving a false impression of length. Dry curls will show the true length of your hair, preventing excessive cutting.
- Avoiding Shrinkage Issues: Curly hair experiences shrinkage when it dries. Cutting hair dry helps to see how much you’re actually taking off and avoids cutting too much.
- Spotting Split Ends and Damage: It’s easier to identify split ends and damage on dry hair. You can target the exact spots that need trimming, which is harder to do on wet curls.
- Better Control Over Style: As you cut, you can see the style take form. This means you can tweak and adjust as you go, rather than waiting for the hair to dry to see the final look.
When you prepare to cut your curly hair, remember to start with fully dried and settled curls. Always trim a little at a time. Smaller snips can make a big difference in the overall appearance of your curly hairstyle. By using the dry cutting method, you’ll ensure your home haircut looks intentional and well-maintained.
Step-by-Step Guide on Positioning and Snipping Curls
How to cut curly hair at home?Gaining control over each curl is crucial for a successful cut. Here are simple steps to follow:
- Prep Your Hair: Make sure your hair is completely dry. Have your curls fall naturally.
- Section Your Hair: Use section clips to divide your hair into manageable parts. Work on one section at a time.
- Sway to Position: Gently move your head to let curls settle into their natural position. This helps identify uneven lengths.
- Assess the Length: Compare the lengths of your curls. Decide on how much you need to snip.
- Start with the Front: Take each curl, decide where to cut and snip the ends. Remember, less is more.
- Move to the Back: Work your way to the back gradually, ensuring evenness as you go.
- Check Your Work: Use your mirrors to look at all angles. Make any necessary corrections.
- Final Touch-Ups: Observe the shape and adjust any out-of-place curls softly.
Keep your snips tiny and precise. Avoid pulling or stretching your curls. Remain patient and work slowly. It’s the key to a haircut that looks great and feels right.
The Clock Method for Even Trimming
For an even trim, the Clock Method is a game-changer. Here’s how to do it:
- Position Your Hair: Raise a curl to align with the 12 o’clock mark. Imagine a clock over your head.
- Hold and Snip: Grip the curl between your fingers at the desired length. Trim with the scissor tip.
- Move Clockwise: Continue with adjacent curls at 1 o’clock, then 2 o’clock, and so on.
- Repeat on Both Sides: Ensure symmetry by trimming the other side in the same manner.
- Check as You Go: After each snip, sway your hair. Observe the shape and balance.
- Take Small Sections: Handle one small section at a time for accuracy.
This method keeps cuts consistent across all curls. Avoid cutting too much by not opening scissors wide. Remember, trim the tips only and don’t angle the scissors. This will stop fraying ends. After cutting, fluff at the roots to get a full view of your shape. Touch up any areas with split ends if needed. The Clock Method simplifies cutting and maintains even curls throughout your hair.
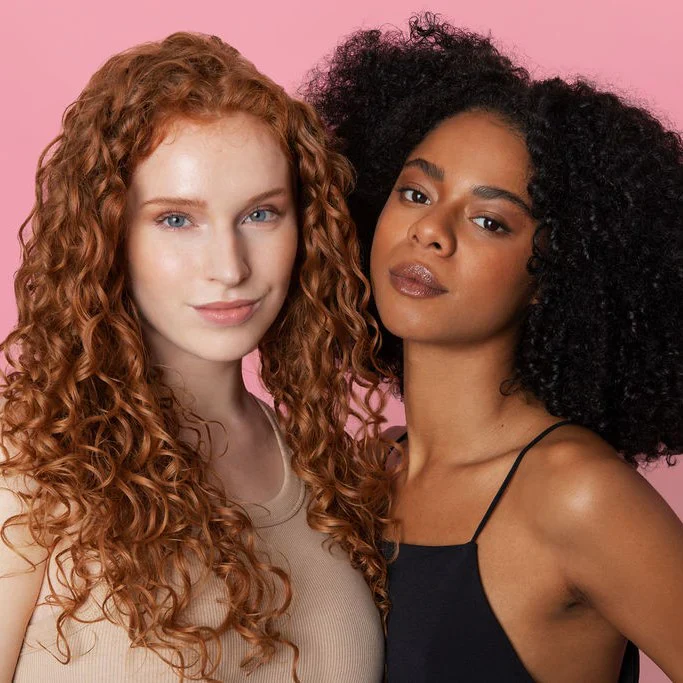
Tips for Cutting Different Curl Patterns
No two curls are the same. Each curl pattern needs different cutting techniques. It’s important to recognize your curl type before you start snipping. Here are tips for various curl patterns:
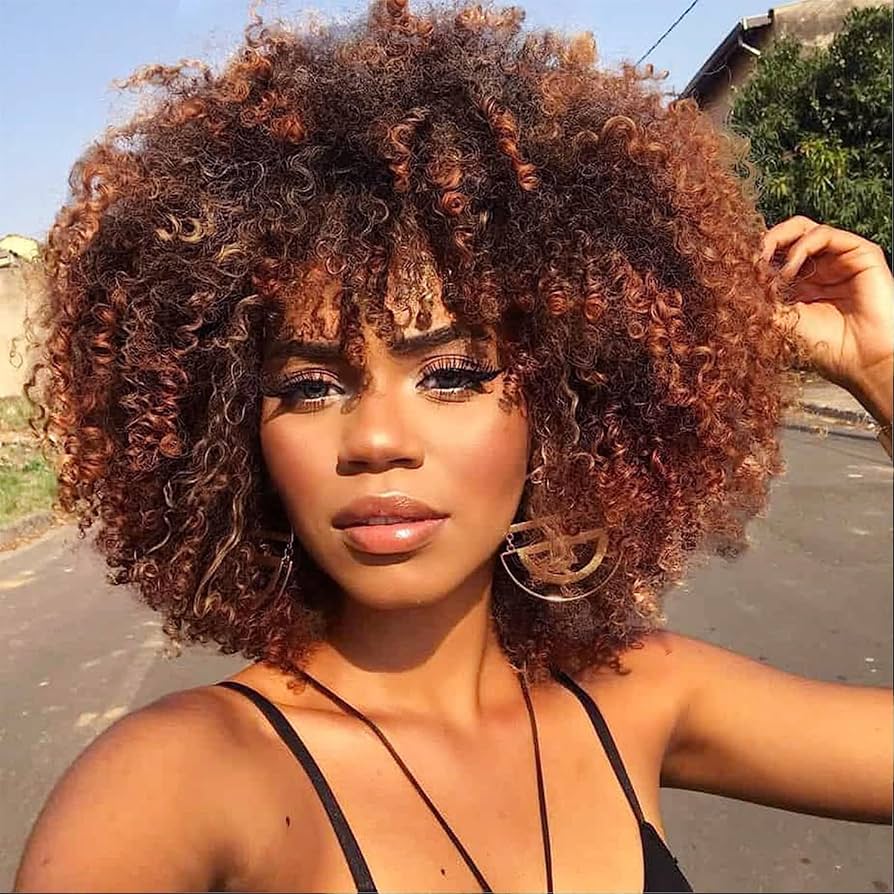
Tight Coils and Kinky Curls
For tight coils, it’s vital to trim each curl individually. Cut coils when they are in their most natural state. Avoid pulling the curls straight. Use the ‘point cutting’ method to snip the ends. This technique involves holding the scissors vertically and making small cuts.
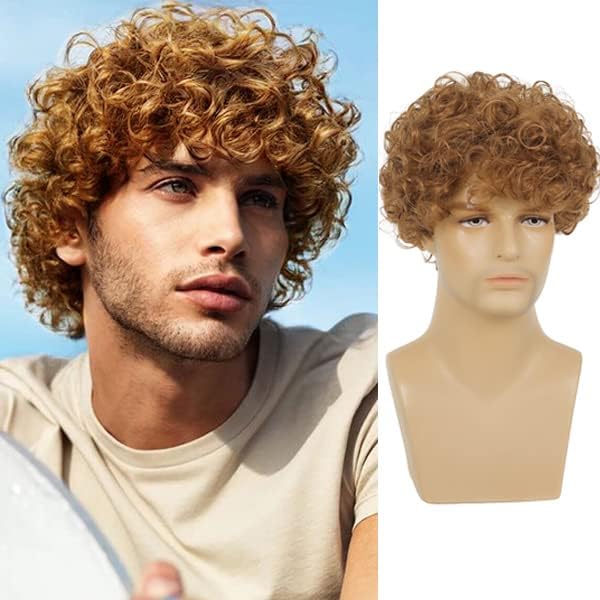
Loose Curls and Waves
Loose curls and waves can seem easier to manage, but still need care. Cut on a slight angle to keep a natural look. Work with larger sections than you would with tighter curls. Make sure to check the balance from every angle as you go.
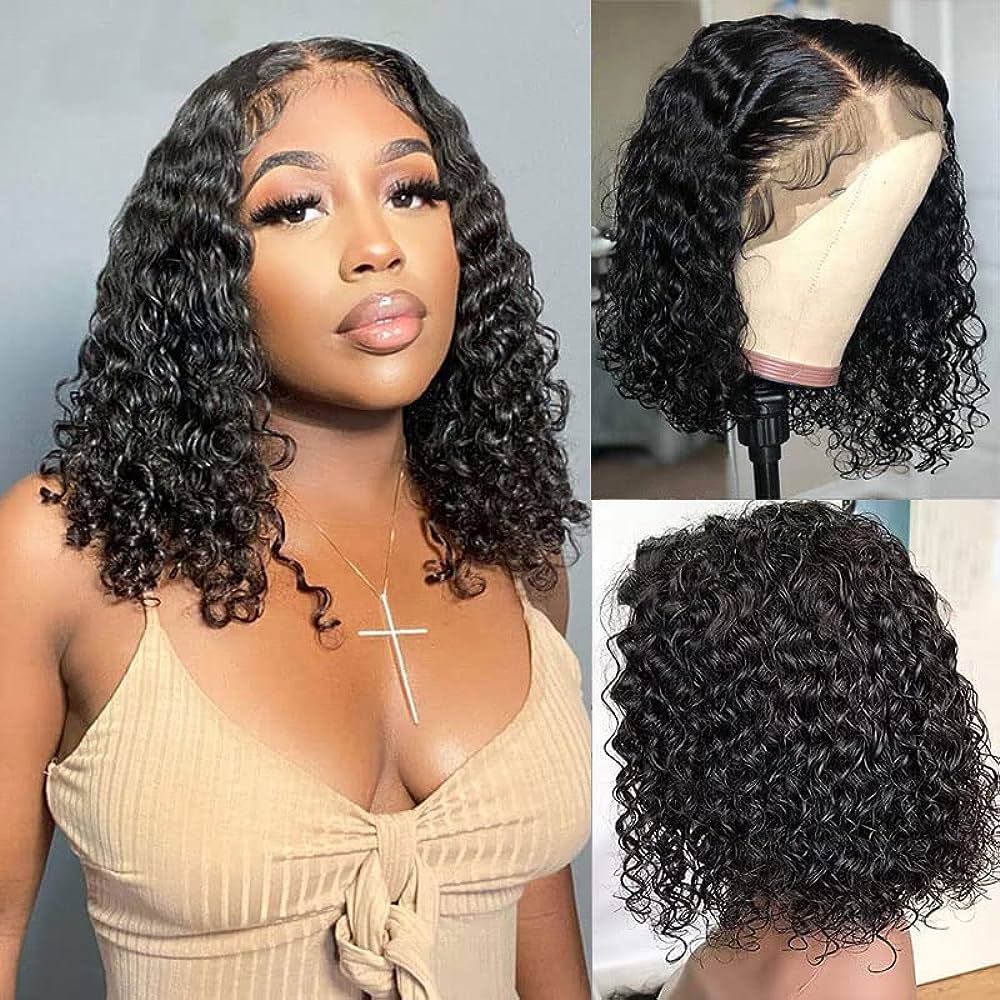
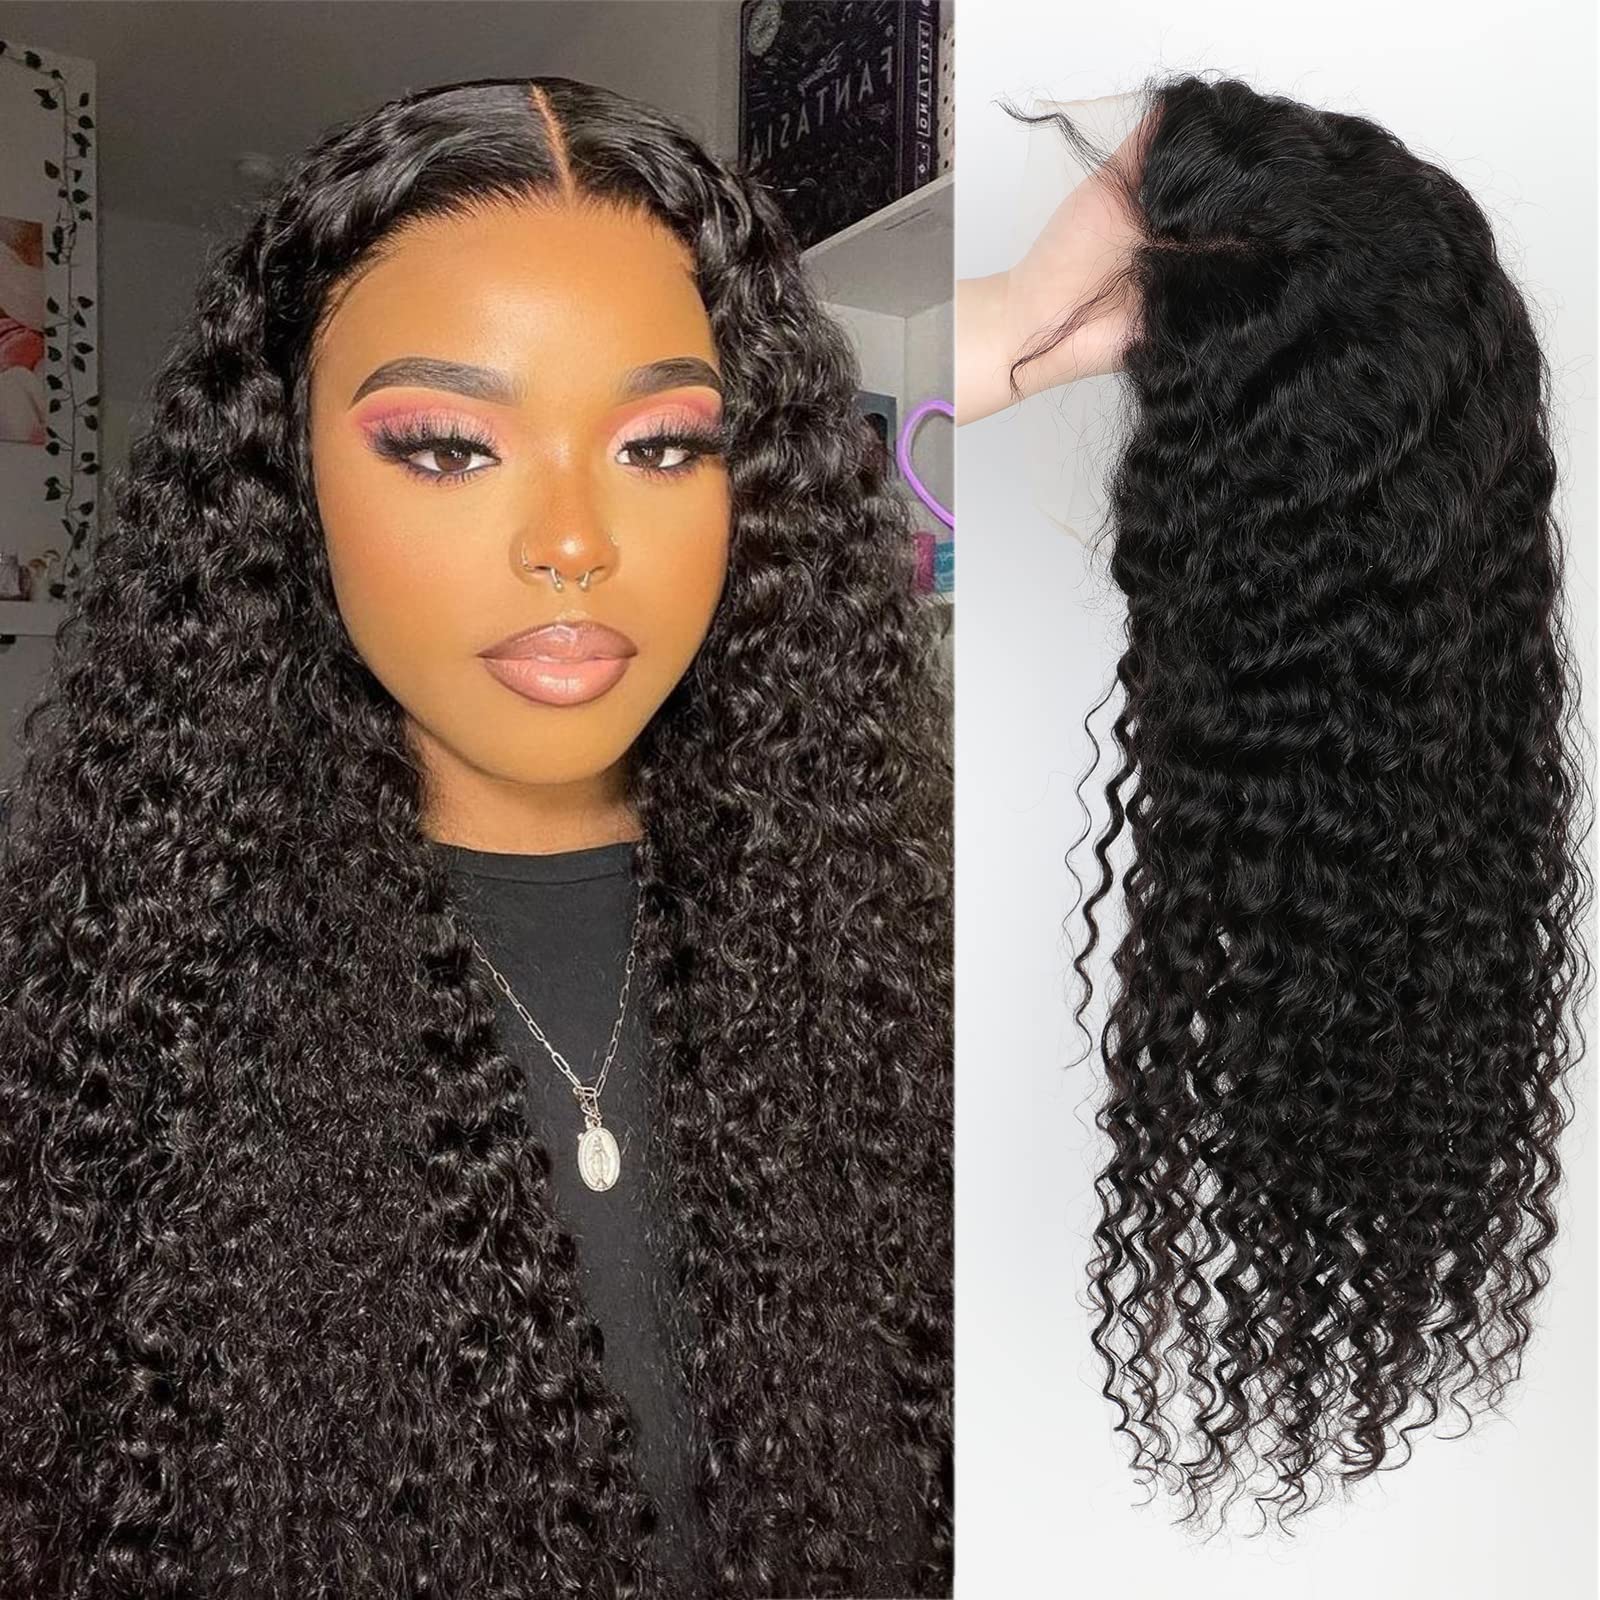
S-Shaped Curls
S-Shaped curls fall somewhere in the middle of tight and loose. Cut dry to maintain length. Use the Clock Method for even trimming all around. Follow the natural ‘S’ pattern of each curl when cutting.
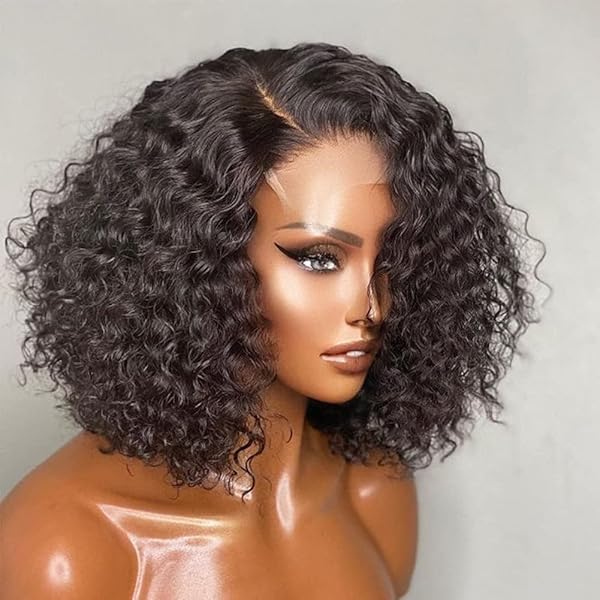
Botticelli or Corkscrew Curls
These spiraled curls require precision. Trim curl by curl, rather than in straight lines. Cutting in a spiral pattern will help maintain the curl’s shape. Cut the very tip to avoid a blunt end.
Mixed Curls
Many have a mix of different curl types. Treat each section according to its pattern. You may use various techniques on the same head of hair. Start with the tightest curls and move to the looser ones.
Keep in mind that less is often more when it comes to cutting curls. Focus on snipping the ends and maintaining the hair’s natural silhouette. Be gentle and patient, as rushing can lead to uneven cuts. With practice, you’ll master cutting your unique curl pattern at home.
Styling Your Curly Hair Post-Cut
After cutting your curls, styling is key to enhance their natural beauty. Here’s a simple guide:
- Start with the Right Products: Apply a curl-defining product. This adds moisture and defines your curls. Avoid heavy products that weigh hair down.
- Gently Dry Your Curls: Pat your hair with a soft towel. Avoid rubbing which causes frizz. Let your hair air dry, or use a diffuser on a low setting if you must blow dry.
- Use Your Fingers or a Wide-Tooth Comb: Style your hair while damp. Gently separate your curls to add volume. Stay away from fine-tooth combs.
- Avoid Excessive Touching: Once your curls are styled, don’t play with them too much. This can spoil their shape and bring on frizz.
- Refresh Your Style: Between washes, revive your curls with a little water or a curl refresher spray. This keeps them looking fresh.
- Experiment with Different Styles: Try updos, ponytails, or accessories. See what works best with your fresh cut.
- Trim Regularly: To keep your style looking great, trim it every 6 to 8 weeks. This helps to prevent split ends and maintain the hair’s shape.
Remember to listen to your curls. Each pattern may need a different approach when styling. With practice, you’ll find the perfect routine for your unique curls.
Maintenance and When to Seek Professional Help
Maintaining your freshly cut curly hair at home is key for lasting style. Here are straightforward tips to help you keep your curls looking great.
Regular Trims
Trim your curls every 6 to 8 weeks. This avoids split ends and keeps curls in shape.
Deep Conditioning
Use a deep conditioner once a week. It keeps curls hydrated and healthy.
Gentle Detangling
Always detangle gently with a wide-tooth comb. Start from the ends and move upwards.
Avoid Heat Damage
Limit the use of heat styling tools. They can damage curls and cause frizz.
Wrap Hair at Night
Wrap hair in a silk scarf or use a silk pillowcase. It prevents breakage and frizz.
Refresh Curls Carefully
Between washes, spritz water or use a curl refresher. This keeps the shape without washing.
While these steps help maintain your curly hair, sometimes you’ll need a professional’s touch. Here’s when to seek help from a hairstylist:
Major Changes
For a big change in style or length, visit a pro. They can craft the look you want.
Complicated Styles
If you want a complex cut, like layers, see a stylist. They have the skills needed.
Health Concerns
If you notice excessive hair loss or damage, get professional advice. There may be an underlying issue.
Yearly Check-In
Even with home maintenance, get a salon cut at least once a year. A stylist can correct any mistakes and give tips.
Whether you’re trimming at home or visiting a salon, these steps will ensure your curls stay healthy and beautiful. When in doubt, reach out to a pro for help.