How to Use Hair Rollers
Mastering Hair Roller Styling Like a Pro
Hair rollers offer a classic way to create gorgeous curls and waves. These trusty tools deliver salon-quality volume and body. Best of all, rollers minimize hair exposure to damaging heat. Achieving a perfect roller set requires some practice though. Master the right techniques for stunning styles every time.
Whether you’re a beginner or seasoned pro, learning the techniques for using hair rollers can elevate your styling game. In this blog, we’ll explore step-by-step instructions, tips, and tricks for achieving beautiful hair transformations using rollers.
From selecting the right roller size and material to mastering different wrapping techniques, we’ll guide you through the process of using hair rollers to create your desired look. With their heat-free styling and flexibility, hair rollers provide a gentle and customizable approach to hairstyling, catering to a range of hair types and lengths.
Understanding Roller Types
Not all rollers generate the same curl results. Selecting the proper roller variety tailors effects ideally. Rollers come in different materials and surface textures designed for specific purposes.
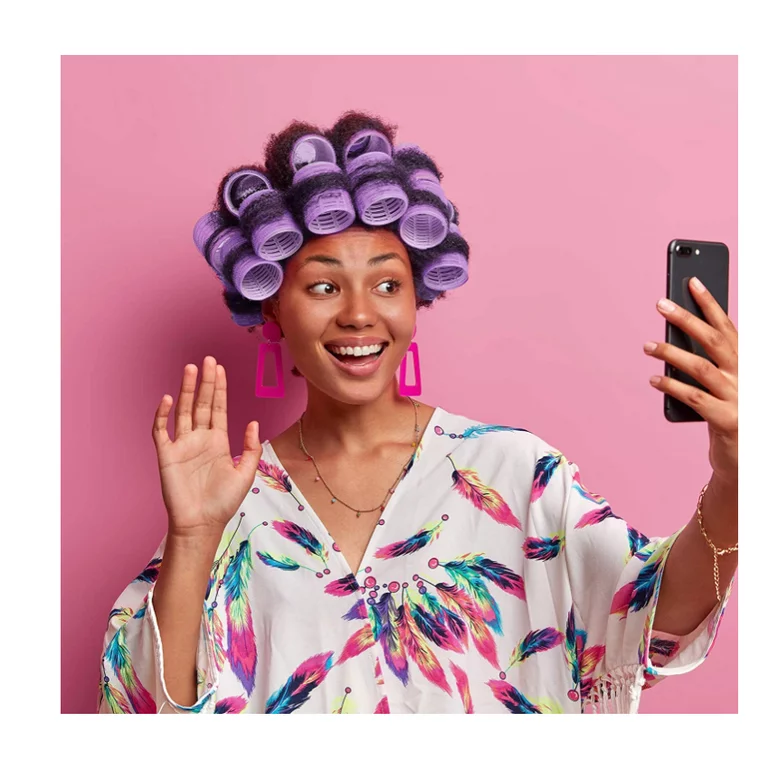
Velcro rollers grip strands firmly for long-lasting hold and intense curl patterns. The cushioned soft velour covers create beautiful shape retention. However, velcro’s abrasive texture can potentially rough up fragile hair over time.
Mesh rollers prove a gentler flexible option promoting maximum curl volume and lift. Airy nylon or plastic mesh forms cradle strands without creasing. This porous weave allows airflow for faster setting. Drawback: styles can drop faster without firm hold.
Foam and sponge rollers excel for bouncy voluminous curls too. They utilize soft pliable absorbent material to shape hair with slight tension. Seamless surfaces discourage stubborn dents or kinks forming along the way.
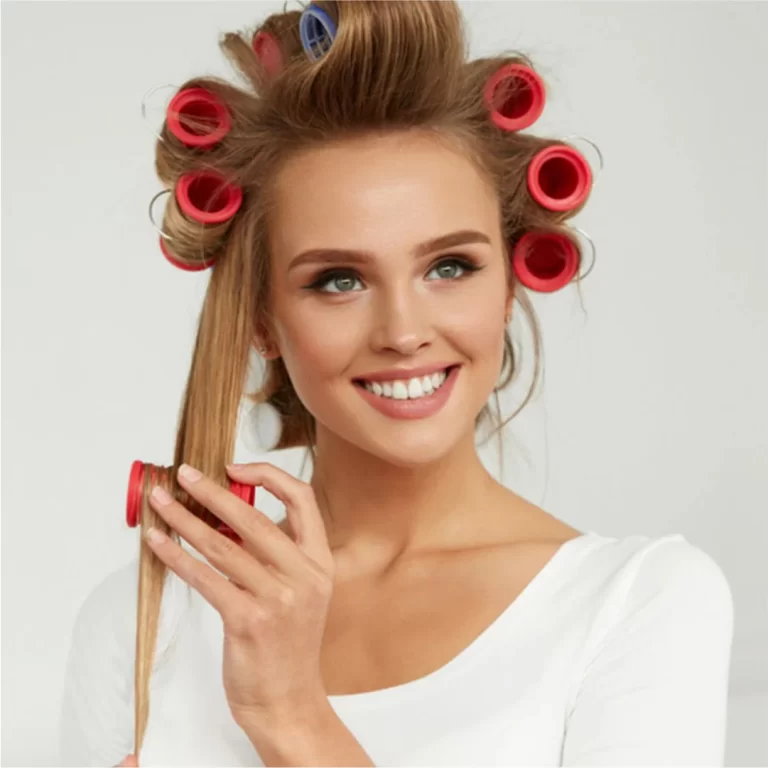
Traditional rigid plastic rollers remain a gold standard for defined classic curl patterns. Their sturdy structure imparts long-lasting memory to hair’s set. Opt for ribbed styles enhancing volume and body additionally.
Roller Sizing Essentials
Curl intensity depends largely on roller dimensions selected. In general, smaller rollers form tighter spiral curls while big rollers yield gentle waves. Mixing sizes on the same head generates curl diversity too.
Stock up on a variety of roller sizes for customizing texture. Jumbo rollers (1.5-2″ diameter) create voluminous bouncy body. Medium sizes (⅝-1″ wide) produce classic uniform curl formation. Small rollers (under ½” diameter) initiate springy spiral tendrils or coils.
Facial-framing sections typically use smaller rollers to enhance features. Tighter curled bangs and face-framing pieces frame and flatter faces beautifully. Roller size increases graduating toward the interior sections in back.
When in doubt, a roller set combining three graduated sizes achieves multi-textured dimension. Mixing roller diameters unlocks dimension and movement throughout different lengths stylishly.
Preparing Hair for Rollers
Roller set quality stems from properly preparing hair for styling first. Clean moisturized tresses provide the ideal foundation for long-lasting curls. Whenever possible, start by clarifying buildup from strands completely.
Towel-dried hair works best compared to sopping wet sections. Too much moisture weighs down curl patterns easily. Applying a leave-in conditioner or primer adds grit and hold for rollers gripping firmly.
For best volume, part hair into quadrants or a diamond section pattern from the start. Use a duckbill clip securing each quadrant neatly before rolling the next area. This method ensures curl formation flows uniformly from roots.
The Roller Setting Process
Rolling sections systematically yields the most seamless head-hugging curl patterns. Most stylists roll from the bottom up horizontally to keep curls stacked optimally. Only very skilled braiders master vertical backcombing spiral techniques.
Grasp a 1-2″ section of hair securely at the roots without pulling. Gently stretch and smooth the length gathering it toward the ends into a clean brush-like cylinder. This smoothing action discourages snagging or twisting.
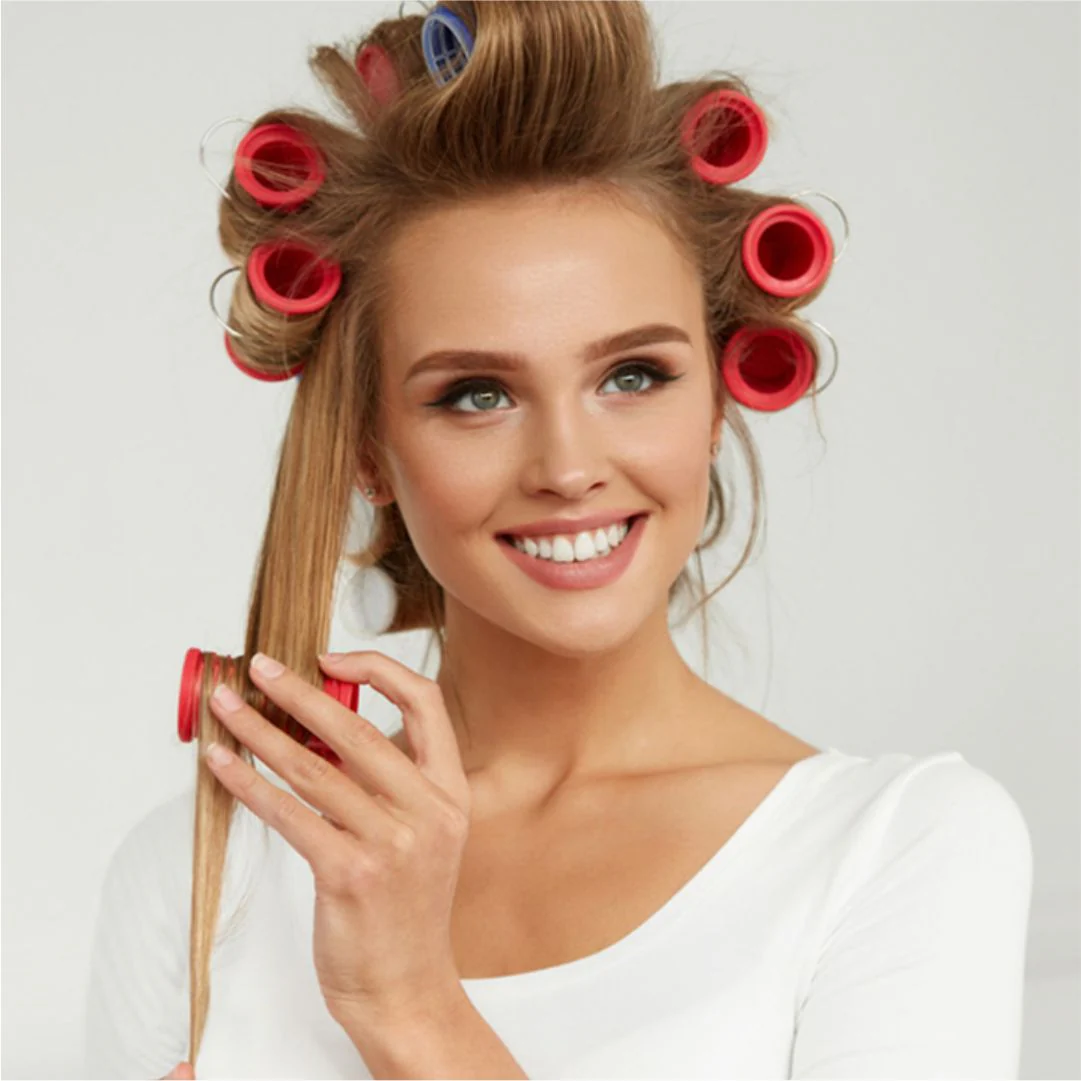
Next, place the roller firmly adhering it to the stretched hair bundle’s roots. Use medium tension wrapping the remainder down along the roller’s barrel in overlapping turns. Leave half an inch extending past the roller ends to prevent slippage.
Once fully rolled, secure the curl in place using a plastic roller clippie or duckbill pin. The clamp’s curved edges grip the roller firmly without denting or marking it upon removal later.
Continue this rolled row horizontally around the entire hairline section. Leaving vertical rows slightly under-lapping the previous one encourages longer lasting wave patterns. Full heads require overlapping horizontal rows from bottom to crown.
Alternate Roller Setting Patterns
Varying roller placement angles accentuates distinct curl movement effects. Switching up setting patterns changes the flow and dimension considerably. Even basic traditional rollers manifest romantic versatility with creative styling spins.
Spiraling rollers vertically emulates natural curl clustering patterns for added whimsy. Scattered random spaced rollers lend beachy “slept-in” texture flawlessly. Rollers strategically concentrated near the face frame accentuate desirable bone structure too.
Try partially alternating roller directions on the same head for visual dynamism. Rolling half clockwise and the other half counter-clockwise generates beautiful wave opposition. The aesthetic juxtaposition unleashes shape, volume and defined silhouettes.
For elaborate structured hairstyles, heated rollers prove invaluable. Heaters accelerate the curl setting process rapidly from within. Temperature conduction around each cylinder sculpts results holding shape for days on end.
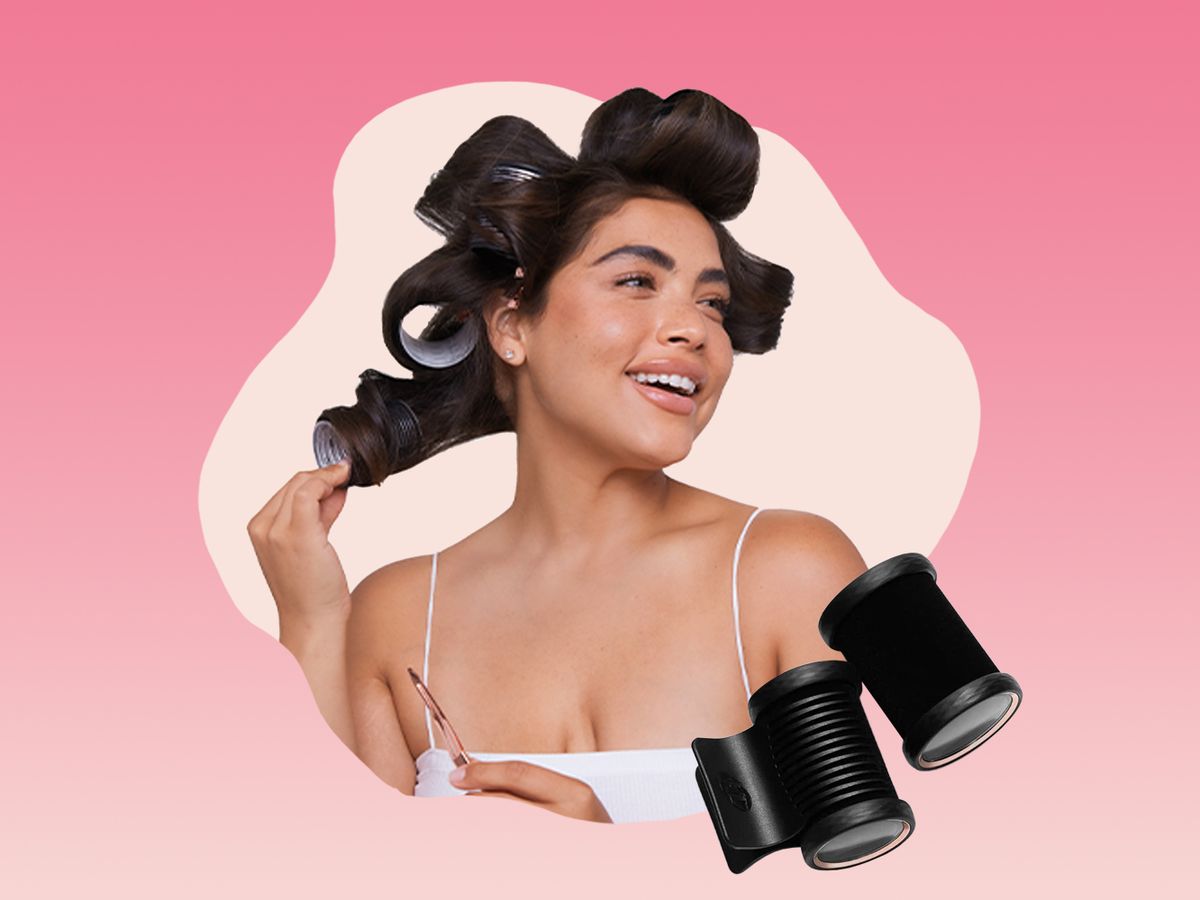
Roller Removal Techniques
Exercising patience during roller removal maximizes curl formation and longevity. Slow gently motions prevent disturbing the hair’s fresh memory shape prematurely. Leave rollers set until hair feels cool to the touch.
Unwind each roller meticulously after securing the ends with a duckbill clip. Allow curl formation to loosely drop from the released roller into an elongated rope-like shape initially. This reinforces stretching each pattern’s circumference.
For defined structured ringlet curls, rebraid each rope coil upwards smoothly after removal. Securing with a duckbill clip lets the sculpted curl set fully. Hit the reset coil with a cool shot of hairdryer to lock in formation permanently.
Tousled romantic finishes take delicate post-removal shaping. Gently scrunch hair inwards with palms using curl-enhancing products. Fringing ends straight down and hitting with low air imparts stunning movement and separation too.
Finally, always complete roller setting with a holding hairspray. Formulas infused with conditioning polymers preserve bouncy luster and hydration. The flexible all-over veil extends styles while combating frizz and humidity exposure.
In summary, hair rollers deliver stunning curls and waves without compromising strand integrity. Pristine technique and some practice unleash these handy tools’ ultimate sculpting prowess. Soon enough, professional quality roller setting mastery becomes effortless!

